

How To Improve Photos With AirBrush
Good photo editing does not always mean making a picture look completely different. Often, the best result is a cleaner image with better lighting, fewer distractions, a more balanced crop, and edits that still feel believable.
AirBrush is an AI-powered photo editing platform with tools for retouching, image enhancement, background editing, image extension, and bulk editing workflows.
This guide explains how to choose the right editing tool for the job, create more consistent images, and avoid edits that look overly processed or misleading.
Start With the Real Problem in the Photo
Before choosing an editing tool, identify what actually needs improvement. A soft or dark image may need enhancement, while a distracting background may need removal or replacement. A good edit starts with one clear goal.
Try not to apply every available effect at once. Too many adjustments can make skin, color, edges, or backgrounds look unnatural and can make it harder to understand which change improved the image.
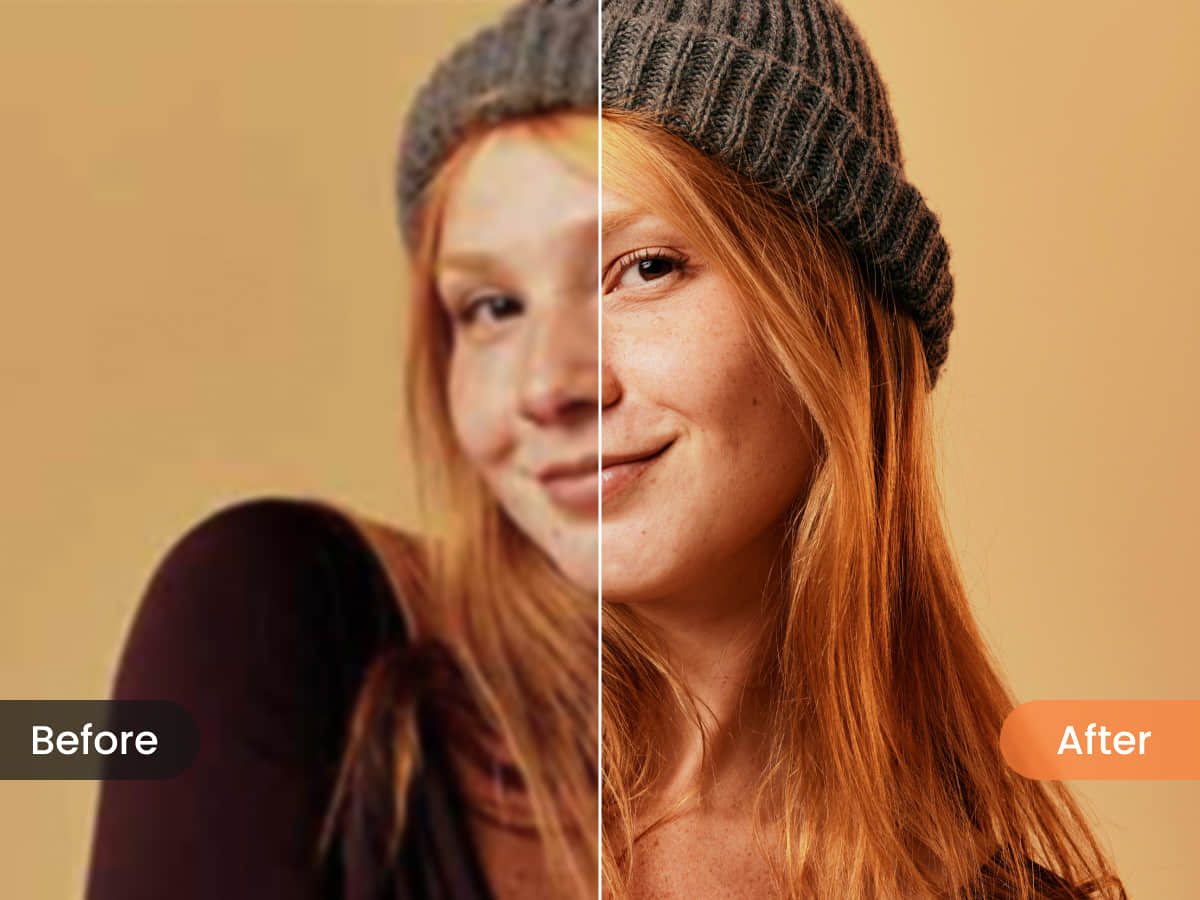
- Use image enhancement for low-detail, dull, or slightly blurry photos.
- Use retouching for small portrait adjustments rather than heavy facial changes.
- Use background tools when the subject needs more focus or a cleaner setting.
- Use image extension when you need a different crop or aspect ratio.
- Use batch editing when several images need a consistent visual style.
Choose the Right AirBrush Tool
Different photo problems need different workflows. Choosing the right tool first can help you work faster and keep the result more consistent.
| Editing need | Useful tool type | What to check before saving |
|---|---|---|
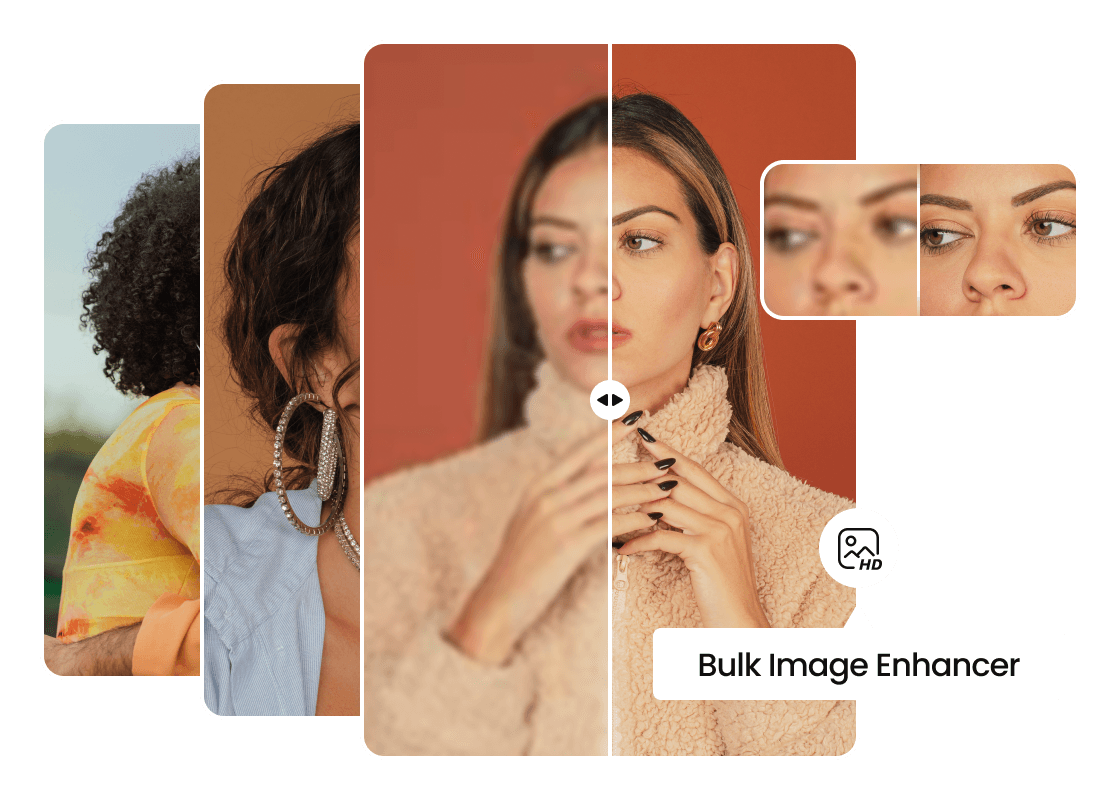
| Improve clarity or color | Image enhancer or upscaler | Check whether details still look natural at full size. |
| Clean up a portrait | AI retouching tools | Keep skin texture, facial features, and proportions believable. |
| Remove an unwanted object | Image eraser or cleanup tool | Zoom in and inspect edges, shadows, and surrounding details. |
| Replace a background | Background remover or changer | Check hair edges, product outlines, and lighting consistency. |
| Resize for a platform | Image extender or crop tool | Review the final composition before exporting. |
| Edit many photos | Batch editing workflow | Check a few individual files before applying the same look to all images. |
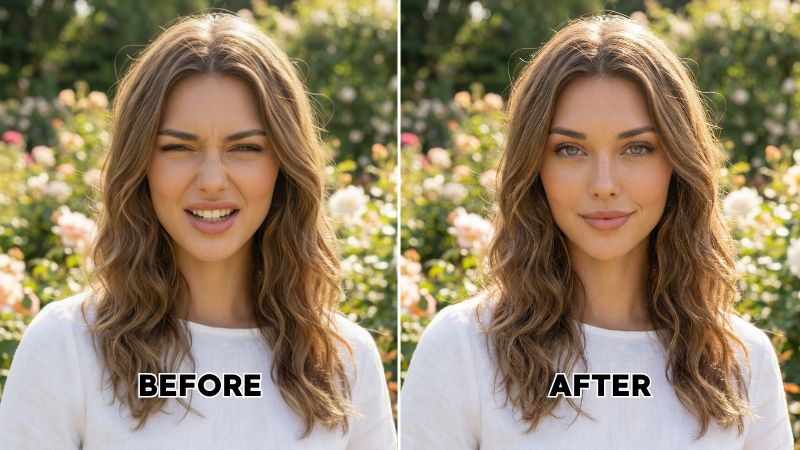
Keep Portrait Edits Natural
Portrait editing works best when it supports the original photo instead of replacing it. Small adjustments to lighting, color balance, temporary blemishes, or distracting details can improve a picture without making it feel artificial.
Be especially careful with face reshaping, skin smoothing, eye changes, and body adjustments. Strong edits can create an unrealistic result and may not be appropriate for professional, editorial, identification, or personal-document images.
- Make one small adjustment at a time.
- Compare the edited version with the original regularly.
- Avoid changing a person’s recognizable features without permission.
- Do not use altered images for official identity, legal, medical, or financial documents.
- Ask for consent before editing and publishing photos of other people.
- Use clear disclosure when an edited image could mislead viewers.
Use Background Tools for Cleaner Visuals
Background editing can be useful for profile photos, product images, social posts, presentations, and online store listings. The goal is usually to make the main subject easier to see, not to create a background that looks disconnected from the photo.
For product photos
Use a simple background that keeps attention on the item. Check the edges around the product, especially near transparent materials, hair-like textures, labels, or detailed shapes.
For profile pictures
Choose a background that does not compete with the face. A clean neutral color or a realistic setting may work better than a highly detailed artificial scene.
For social content
Use a background change only when it supports the message. A consistent look can help a creator or business build visual recognition across posts.
For business use
Review the final image carefully before using it in advertising, team profiles, product listings, or client work. Make sure the edited result does not create a misleading impression of the product, person, or setting.
Build a Repeatable Batch Workflow
When you edit a collection of photos, consistency matters. A product catalog, event gallery, creator campaign, or team headshot set can look more organized when color, brightness, crop style, and background treatment follow the same approach.
- Choose one representative photo from the set.
- Make the basic edits first, such as lighting, crop, and color balance.
- Decide which changes should be repeated across the full collection.
- Apply the workflow to a small sample before editing every image.
- Review individual files for problems with faces, hair, product edges, or text.
- Export in the size and format needed for the final platform.
- Keep the original files in case you need to revise the edits later.
This approach can save time while helping a group of photos feel connected rather than randomly edited.
Protect Your Photos and Source Files
Photo editing often involves personal images, client work, product photography, or content that has not been published yet. Before uploading files, consider whether you have the right to edit them and whether the content includes private or sensitive information.
- Keep original image files in a separate folder.
- Remove sensitive details before sharing images publicly.
- Check the service’s current privacy and account settings before uploading personal content.
- Get permission before editing client, employee, family, or customer photos.
- Do not upload images that you are not authorized to use.
- Review export settings before sharing the final version online.
For paid plans, credits, subscriptions, or commercial projects, review the current pricing, licensing, cancellation, and usage terms before committing to a workflow.
Final Thoughts
AirBrush can be useful for creators, online sellers, photographers, and everyday users who want a faster way to improve portraits, enhance image quality, remove backgrounds, adjust composition, or edit multiple files consistently.
The best edits are usually the ones that solve a visible problem while keeping the original image believable. Start with one clear goal, review the result closely, and keep your source files available for future changes.
Use AirBrush to compare AI photo editing tools and review the current product details before choosing a plan.
FAQ
What is AirBrush used for?
AirBrush can be used for AI-powered photo editing tasks such as portrait retouching, image enhancement, background editing, image extension, and batch photo workflows.
Can AirBrush improve a blurry photo?
An image enhancement or upscaling tool may improve clarity in some photos. Always review the result at full size because enhancement cannot restore every missing detail perfectly.
Should I use heavy retouching on portrait photos?
Small, natural-looking adjustments are usually more believable. Avoid edits that dramatically change a person’s recognizable appearance without consent.
Can I use edited photos for official documents?
No. Avoid using altered images for passports, IDs, legal records, medical documents, financial records, or other official purposes.
What should I check before using batch editing?
Test the workflow on a small group first and inspect individual photos for edge problems, skin tone changes, background errors, or unwanted adjustments before processing the full set.
We only recommend tools we've tested and trust. This post may include affiliate links, meaning we may earn a commission if you choose to purchase - at no extra cost to you.

