

How To Edit Images Faster With Pixlr
Fast image editing is useful for blog owners, online stores, freelancers, and small teams that need clean visuals without building a complicated desktop workflow. The key is not using every tool at once. It is choosing the right edit for the image and the platform where it will be used.
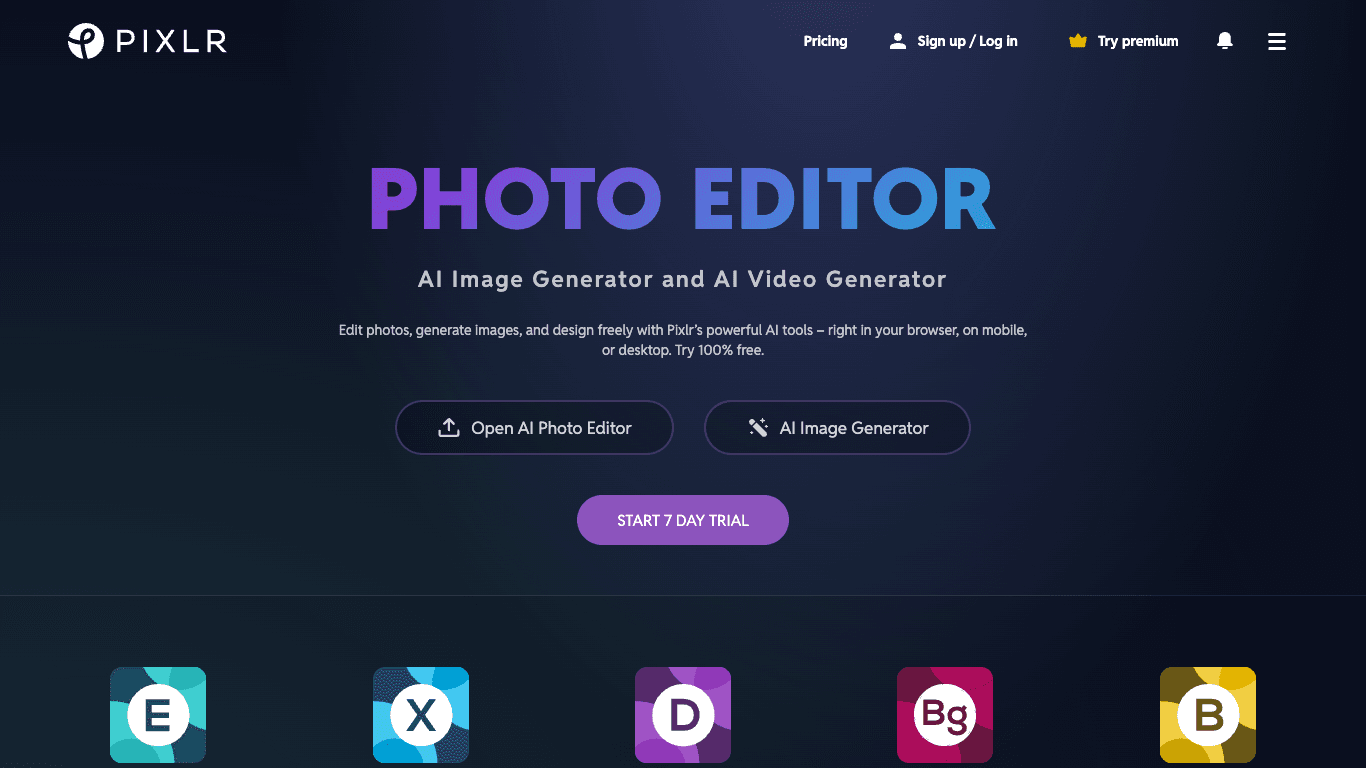
Pixlr is a browser-based creative platform with photo editing, background removal, object removal, image generation, collage tools, resizing, and other visual editing features.
This guide explains how to build a practical Pixlr workflow, what to check before exporting images, and how to avoid common editing mistakes that can make a design look inconsistent or unprofessional.
Start With the Final Use of the Image
Before opening any editing tool, decide where the image will appear. A product image for an online store, a blog feature image, a social post, a presentation slide, and an email banner may each need different dimensions, file sizes, and visual priorities.
Start by asking what the image needs to communicate. It may need to show a product clearly, explain a process, support an article headline, or make a social post easier to notice.
Once the purpose is clear, it becomes easier to decide whether you need simple cropping, color correction, text, a new background, object cleanup, or a complete redesign.
| Image use | Main editing goal | What to check |
|---|---|---|
| Blog feature image | Create a clear visual that supports the headline. | Check crop, text readability, and layout on mobile. |
| Product image | Keep the item easy to recognize. | Check background, color accuracy, and product details. |
| Social media post | Create a quick visual message for scrolling audiences. | Check dimensions, text size, and brand consistency. |
| Email image | Support the message without slowing down the email. | Check file size, mobile display, and call-to-action placement. |
| Presentation graphic | Help explain a point quickly. | Check clarity from a distance and slide-friendly proportions. |
Use Simple Edits Before Advanced Tools
Most images do not need a complex transformation. Start with the basics first, then add more advanced editing only when it improves the final result.
- Crop the image to remove distractions around the subject.
- Adjust brightness, contrast, color, and sharpness carefully.
- Resize the image for the platform where it will be published.
- Use layers when you need to separate text, logos, photos, and effects.
- Save a working version before flattening or exporting the final file.
- Keep important text away from edges where platforms may crop it.
Pixlr includes both quick-edit tools and a more advanced editor. A simple workflow can often be enough for routine blog, product, or social content.
When Background Removal Is Useful
Background removal can be useful when the subject needs to stand out more clearly. It is often used for product photos, profile images, simple promotional graphics, marketplace listings, and website visuals.
However, a removed background is not always the final answer. After isolating the subject, check the edge quality, shadows, hair, transparent areas, and whether the replacement background matches the message of the image.
For product images
A simple, clean background can make the product easier to see. Avoid adding strong effects that change the product color, shape, or important features.
For blog and social graphics
Background removal can help create a cleaner composition when you want to combine a person, product, or object with a headline or branded color block.
For team and profile photos
Use a consistent background style if several images will appear together on a website, staff page, or presentation.
When editing photos of people, avoid using changes that could mislead viewers about identity, appearance, actions, or context.
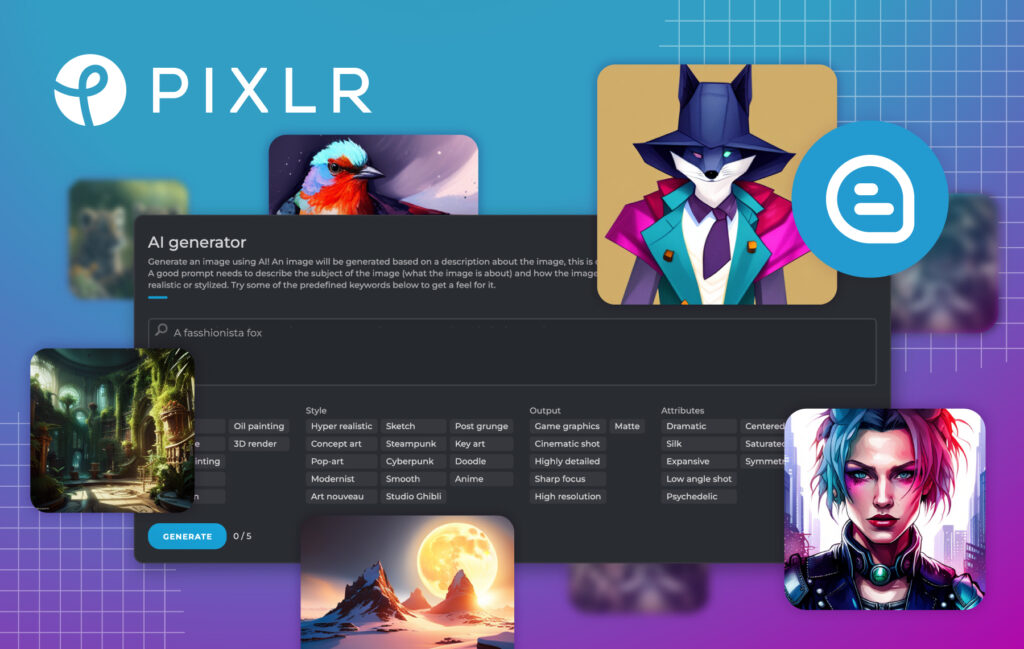
Use AI Image Tools With Clear Intent
Pixlr includes AI-focused tools such as image generation, generative fill, image expansion, object removal, and other assisted editing options. These tools can be useful for creating concepts, extending a layout, removing unwanted visual clutter, or generating starting points for a design.
AI tools work best when you give them a clear job. Instead of making broad edits without a goal, decide what should be added, removed, expanded, or changed before starting.
- Use object removal for unwanted background clutter when it does not affect the truth of the image.
- Use generative fill when you need to replace a selected area with a relevant visual element.
- Use image expansion when a layout needs more background space around a subject.
- Use text-to-image generation for original concept images, not as a replacement for licensed assets you need permission to use.
- Review every AI result before publishing because details, text, hands, logos, and objects may need correction.
- Do not use AI edits to create misleading evidence, impersonation, or false endorsements.
Choose the Right Export Format
Export settings can affect how an image looks after uploading. The wrong file type or compression level may make text blurry, colors dull, or images unnecessarily heavy for a website.
| Format | Best for | What to remember |
|---|---|---|
| JPG | Photos and web images with many colors. | Useful for smaller files, but heavy compression can reduce detail. |
| PNG | Graphics, logos, screenshots, and transparent backgrounds. | Useful for sharp text and transparency, but files may be larger. |
| WebP | Website images where modern browser support is suitable. | Can help reduce file size while maintaining visual quality. | PXZ project file | Keeping an editable Pixlr project. | Save a working version before final export when you may need later changes. |
Always open the exported image after saving it. Check whether the file looks correct on the device and platform where it will be used.
Common Image Editing Mistakes
Many visual problems are not caused by the editing tool. They happen because the image is published before the creator checks how it looks in its final context.
- Adding too much text to a small social image.
- Over-sharpening, over-saturating, or using filters too heavily.
- Removing backgrounds without checking rough edges around the subject.
- Using low-resolution images for large banners or printed materials.
- Exporting a file that is much larger than the website needs.
- Using images, logos, people, or visual assets without appropriate rights or permission.
- Forgetting to save an editable version before final export.
A short review step can make the final image feel more intentional and reduce the need to redo work after publishing.
A Practical Pixlr Editing Workflow
Use this simple workflow when creating visuals for a blog, store, service business, or social account.
- Choose the final platform and image size.
- Select an image you have permission to edit and publish.
- Crop and adjust the image before adding text or effects.
- Use background removal or object cleanup only when it improves the message.
- Add brand colors, text, or graphic elements on separate layers.
- Review the image at both full size and mobile size.
- Export the right format for the platform.
- Keep the editable file in case you need a future update.
This approach can help you create cleaner images without spending unnecessary time on effects that do not improve the final result.
Final Thoughts
Pixlr can be useful for creators, small businesses, bloggers, and online sellers who want browser-based tools for image editing, quick cleanup, creative layouts, and AI-assisted visual work.
The best workflow is not the one with the most effects. It is the one that helps you create clear, appropriate, and well-sized visuals for the place where they will be published.
Use Pixlr to compare online image editing tools and review the current features before choosing a plan or workflow.
FAQ
What is Pixlr used for?
Pixlr is used for browser-based image editing, photo cleanup, background removal, object removal, collage creation, AI image generation, resizing, and related visual tasks.
Can Pixlr remove image backgrounds?
Pixlr includes background-removal tools that can help isolate a subject from its background. Review the result carefully before publishing.
Can I use Pixlr for social media graphics?
Yes. Pixlr can be used to crop, resize, edit, add text, and create graphics for social media, blogs, ecommerce listings, and other online content.
Should I save an editable version of my design?
Yes. Save a working version before exporting the final image so you can update text, layout, or branding later.
Can I use AI-generated images commercially?
Check the current Pixlr terms, the tool settings, and the requirements of the platform where you plan to publish. You should also avoid using AI content in misleading or rights-infringing ways.
We only recommend tools we've tested and trust. This post may include affiliate links, meaning we may earn a commission if you choose to purchase - at no extra cost to you.

